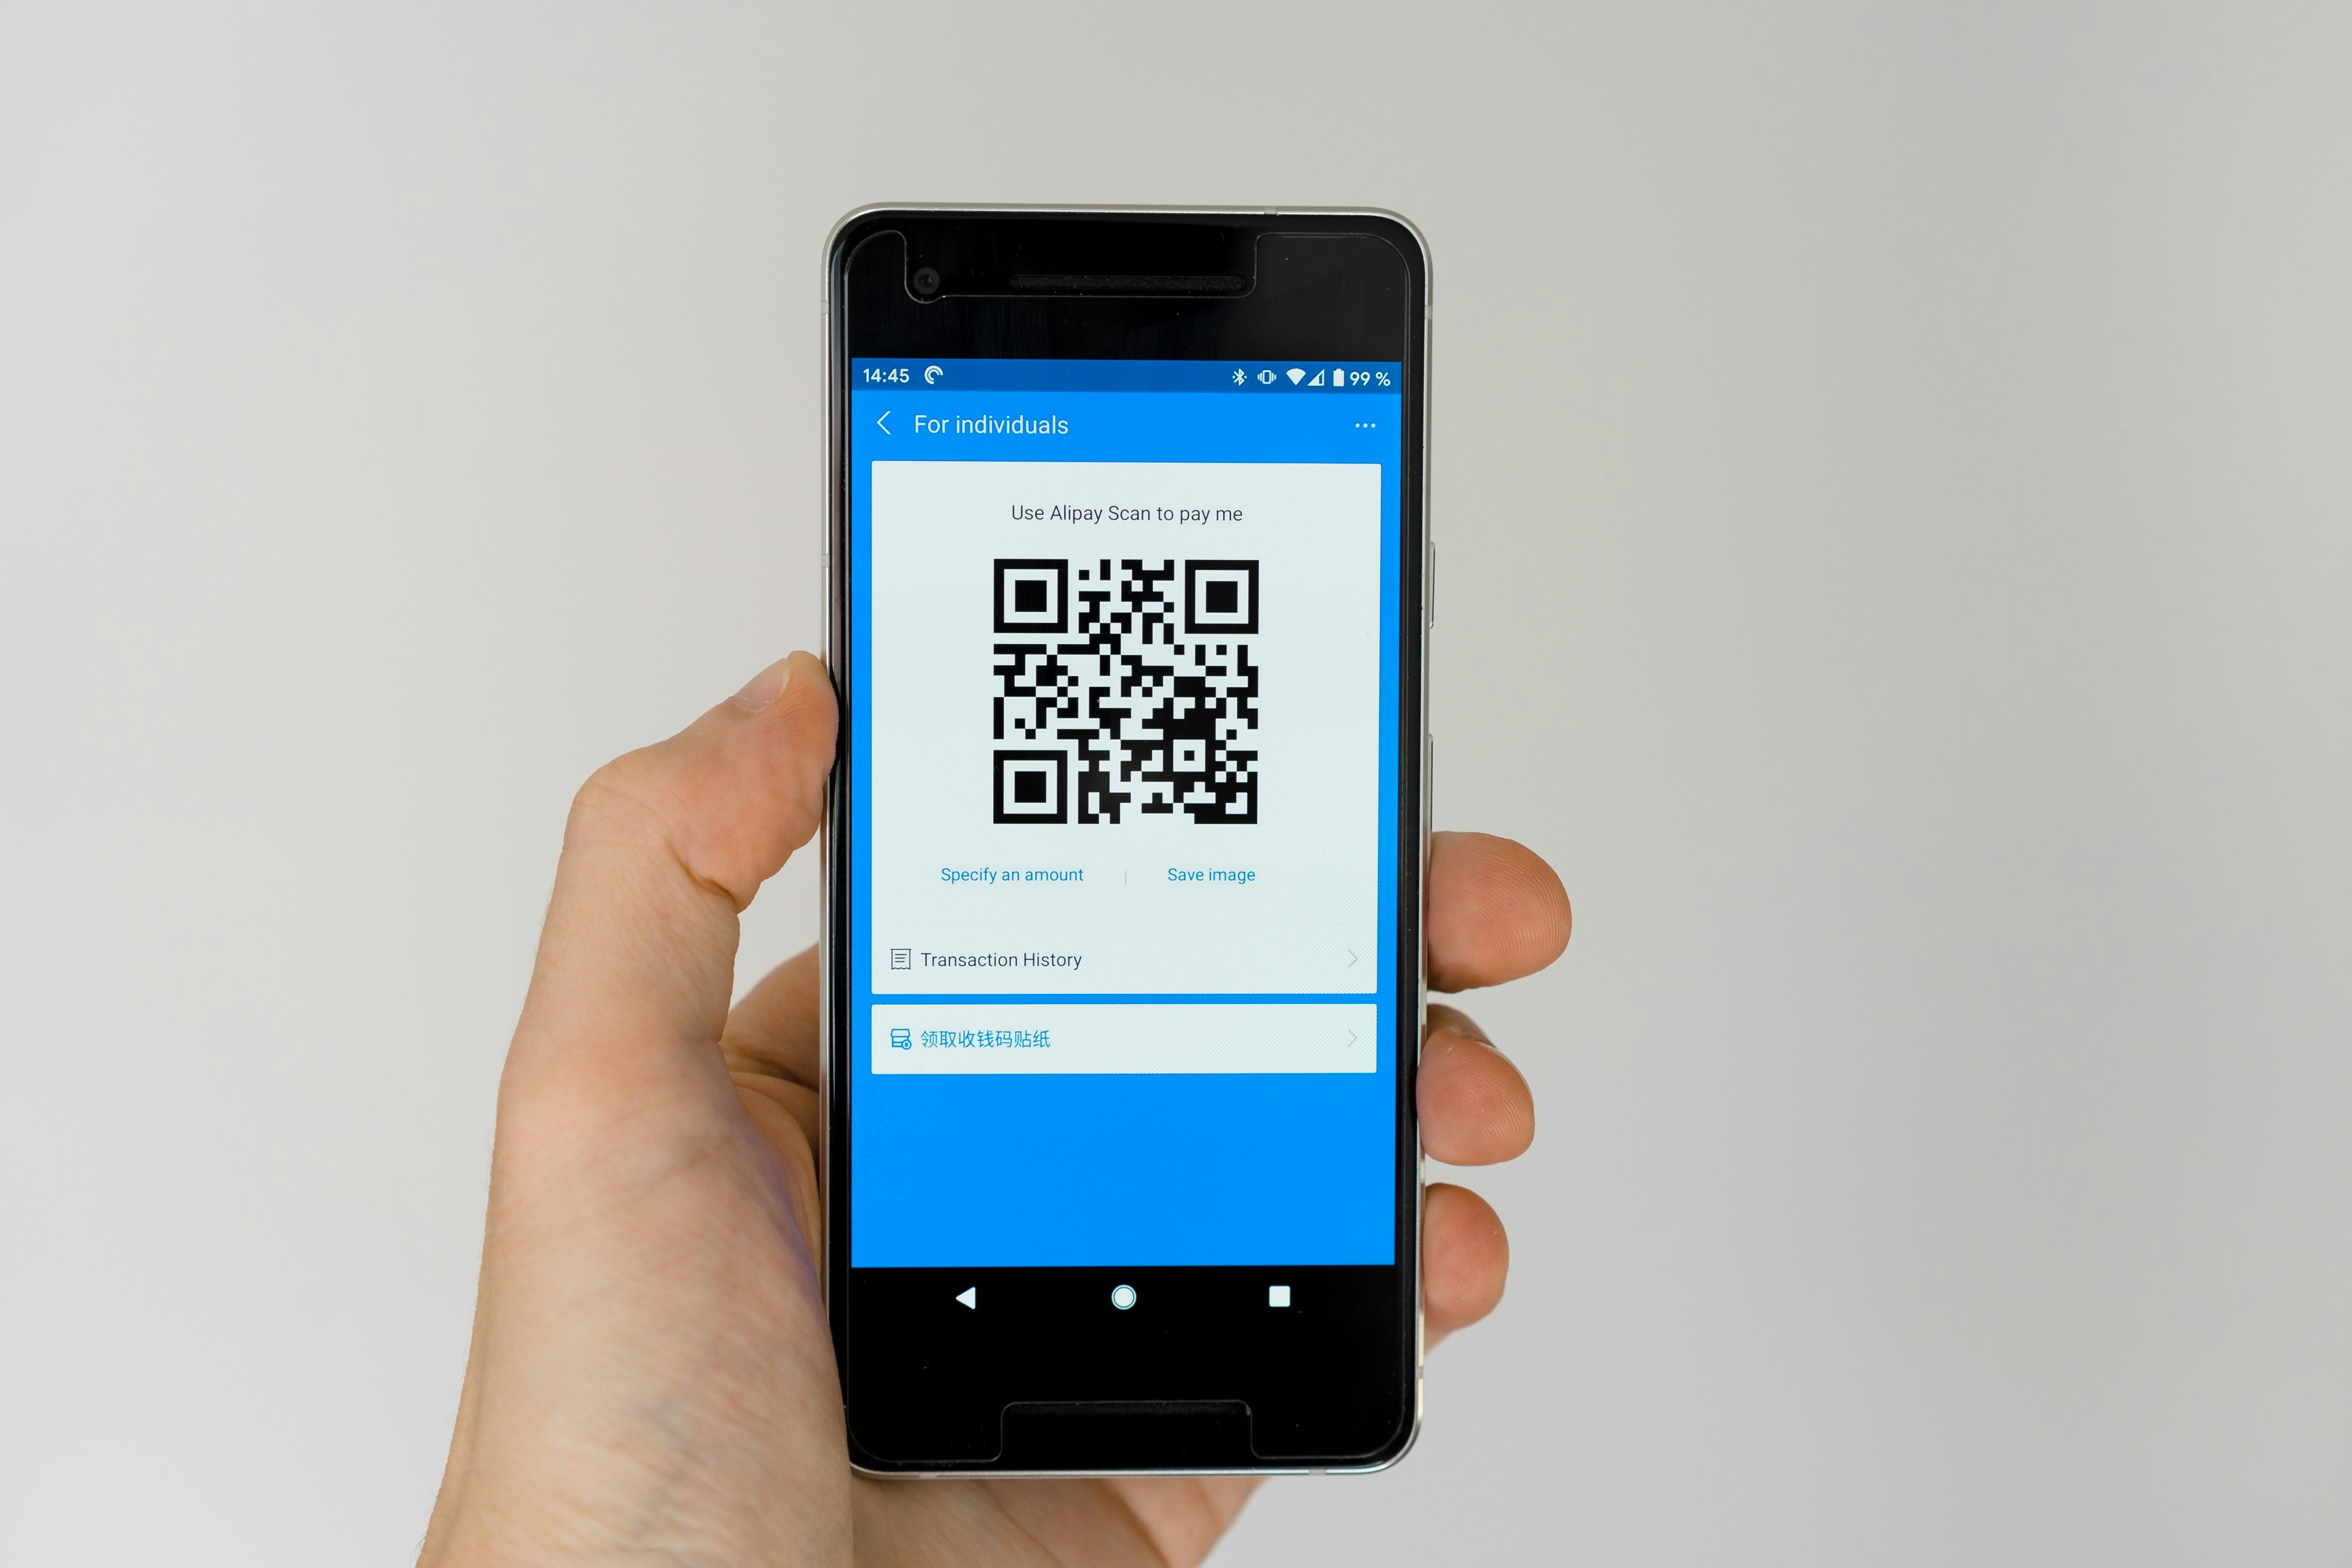
Integrating Razorpay Payments in Next.js: Step-by-Step Guide for Developers
 Mudasir Fayaz
If you’re building an app or SaaS product that requires online payments in India, Razorpay is one of the best solutions available. It supports UPI, credit/debit cards, wallets, and net banking — all through a clean developer API and modern checkout interface.
In this guide, I’ll show you how to integrate Razorpay with a Next.js app — from creating an order on the backend to handling successful payment events securely.
Why Razorpay + Next.js?
- 💳 Razorpay’s checkout UI is simple and user-friendly.
- ⚡ Next.js allows you to easily handle both frontend and backend logic in one codebase.
- 🔒 Secure server-side order verification ensures payment integrity.
“Integrating payments should be simple, secure, and maintainable — Razorpay and Next.js make it exactly that.”
Step 1: Setup Razorpay Account & Keys
Go to Razorpay Dashboardand create a new account. Once done, navigate to Settings → API Keys and generate your key_id and key_secret.
NEXT_PUBLIC_RAZORPAY_KEY_ID=rzp_test_XXXXXX
RAZORPAY_SECRET=your_secret_key
Step 2: Create a Next.js App and Install Dependencies
Initialize your Next.js app and install Razorpay’s Node.js SDK:
npx create-next-app@latest razorpay-demo
cd razorpay-demo
npm install razorpay
Step 3: Backend API Route to Create Orders
Create an API route to generate a payment order securely on the server:
// app/api/razorpay/order/route.ts
import Razorpay from "razorpay";
import { NextResponse } from "next/server";

export async function POST() {
  const razorpay = new Razorpay({
    key_id: process.env.NEXT_PUBLIC_RAZORPAY_KEY_ID!,
    key_secret: process.env.RAZORPAY_SECRET!,
  });

  const options = {
    amount: 49900, // Amount in paise (₹499)
    currency: "INR",
    receipt: "order_rcptid_11",
  };

  try {
    const order = await razorpay.orders.create(options);
    return NextResponse.json({ order });
  } catch (error) {
    return NextResponse.json({ error }, { status: 500 });
  }
}
This endpoint creates a new Razorpay order every time a user initiates a payment request. You can customize the amount or attach metadata such as user IDs and order details.
Step 4: Frontend Razorpay Checkout Integration
Create a simple checkout button that loads Razorpay’s payment UI:
// components/CheckoutButton.tsx
'use client';

import { useState } from 'react';

export default function CheckoutButton() {
  const [loading, setLoading] = useState(false);

  async function handlePayment() {
    setLoading(true);
    const res = await fetch("/api/razorpay/order", { method: "POST" });
    const { order } = await res.json();

    const options = {
      key: process.env.NEXT_PUBLIC_RAZORPAY_KEY_ID,
      amount: order.amount,
      currency: order.currency,
      name: "MyApp Store",
      description: "Premium Subscription",
      order_id: order.id,
      handler: function (response) {
        alert("Payment successful!");
        console.log(response);
      },
      theme: { color: "#2563EB" },
    };

    const rzp = new (window as any).Razorpay(options);
    rzp.open();
    setLoading(false);
  }

  return (
    <button
      onClick={handlePayment}
      disabled={loading}
      className="px-6 py-3 bg-blue-600 text-white rounded-md hover:bg-blue-700 transition"
    >
      {loading ? "Processing..." : "Pay ₹499"}
    </button>
  );
}
This button triggers the backend API, retrieves an order, and opens Razorpay’s checkout interface with all the necessary parameters.
Step 5: Secure Payment Verification (Optional but Recommended)
To ensure the transaction is valid, verify the payment signature on your backend using the razorpay_payment_id andrazorpay_signature values returned by Razorpay.
// app/api/razorpay/verify/route.ts
import crypto from "crypto";
import { NextResponse } from "next/server";

export async function POST(req: Request) {
  const body = await req.json();
  const { razorpay_order_id, razorpay_payment_id, razorpay_signature } = body;

  const sign = razorpay_order_id + "|" + razorpay_payment_id;
  const expectedSign = crypto
    .createHmac("sha256", process.env.RAZORPAY_SECRET!)
    .update(sign.toString())
    .digest("hex");

  if (razorpay_signature === expectedSign) {
    return NextResponse.json({ success: true });
  } else {
    return NextResponse.json({ success: false }, { status: 400 });
  }
}
This ensures that the payment was not tampered with and matches the Razorpay-generated signature.
Step 6: Styling with Tailwind CSS
You can use Tailwind to make your checkout page responsive and modern. A minimal layout with a hero section, payment button, and success state can go a long way in improving user experience.
Final Thoughts
Integrating Razorpay in Next.js is straightforward once you understand the flow: create an order on the backend, initialize checkout on the frontend, and verify payments securely. The combination of Next.js API routes and Razorpay SDKprovides a clean, fullstack payment experience for developers.
You can extend this setup by adding:
- ✅ Subscription-based billing
- ✅ Webhook support for payment status updates
- ✅ Custom success/failure pages
With this integration, you’re ready to accept real payments in your app — securely, efficiently, and with professional-grade performance.